The Importance Of A Hardware Wallet
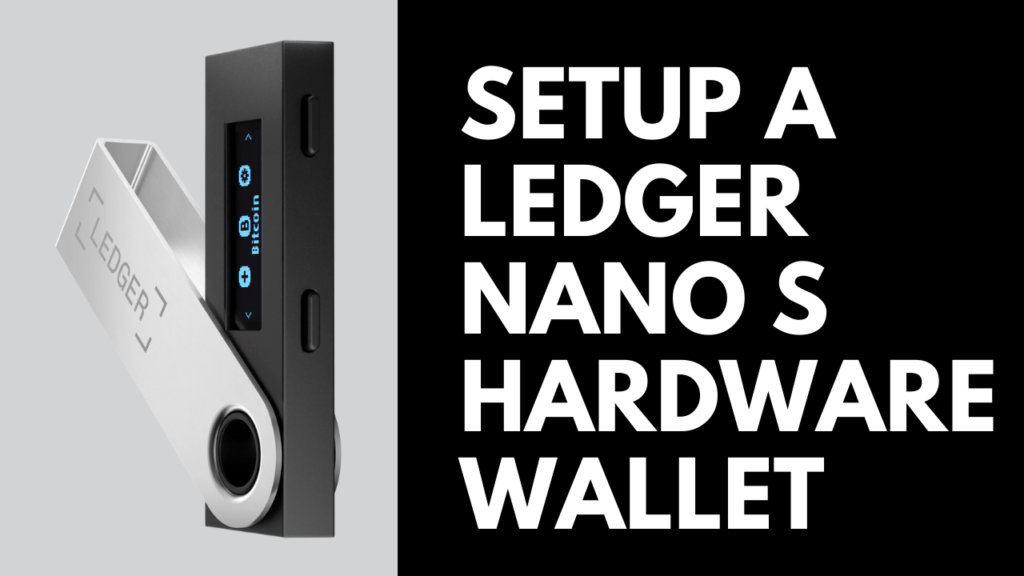
Using a Ledger, otherwise known as a hardware wallet or cold wallet, requires you to physically authorize every transaction. This will protect you from scammers and NFT theft as it offers maximum security over your digital assets such as cryptocurrency and NFTs. Follow the steps below to learn how to setup a Ledger Nano S.
Before you get started, you’ll need a pen. Ledger suggests that you complete the process somewhere quiet and private.
Step 1: Install Ledger Live
Visit https://www.ledger.com/start to download and install the Ledger Live app. With this app, you’ll be able to setup your Ledger device and manage your crypto assets such as ETH and NFTs.
Once the app has been installed, open it up and click on Get Started. Review the Terms of Use, check the checkbox and click on Enter Ledger App.
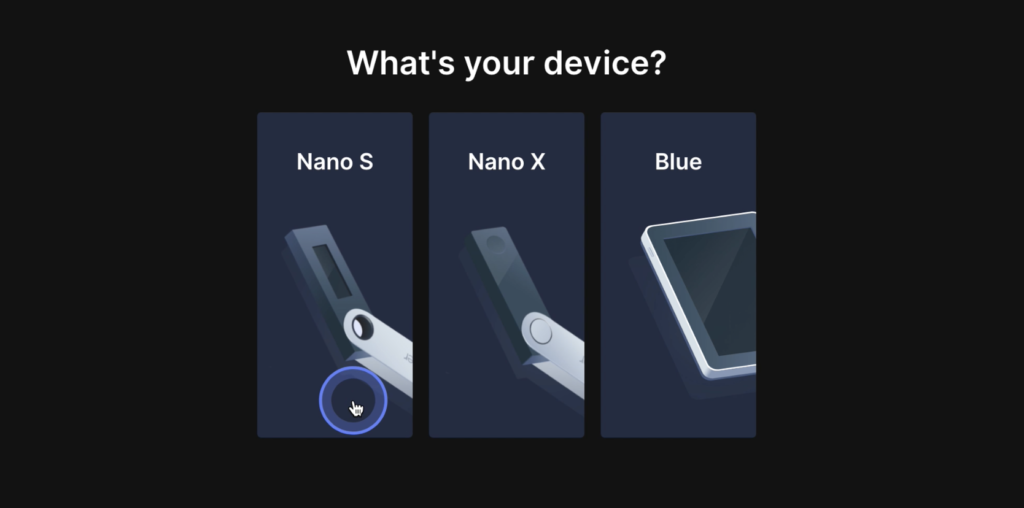
Next, select Nano S on the “What’s your device?” screen. Then, select Set up a new Nano S.
In the new window, click the next arrow until you get to the end of the basic Ledger tips. Click on the Let’s Do This button.
Step 2: Set Your PIN Code
Plugin your Ledger Nano S. This will turn the device on. Press the Right Arrow until you get to “Setup as new device”. Click both top buttons at the same time to select this option.

Click both top buttons again to select “Choose Pin”. Your PIN must be 4 to 8 digits long. Use the Left and Right Arrows to select the first digit of your new PIN. Once you land on your first digit, click on both top buttons to select it and move on to the second digit.
If you make a mistake and need to delete a digit, select the back/delete icon. Once you finish, use the Left or Right Arrow to navigate to the checkmark and click on both top buttons to select it.
Complete these steps a second time to confirm your PIN. Once you’ve re-entered your pin, use the Left or Right Arrow again to navigate to the checkmark and click on both top buttons to select it.

Step 3: Write Down & Confirm Your Recovery Phrase
Next, your Ledger will generate a 24-word recovery phrase. You will need to write this down on the card provided by Ledger or another piece of paper. Do not record it digitally – do not take a photo of it, do not type it out on your computer or even your phone.
To view your 24-word recovery phrase, press the Right Arrow to read through the info until you land on “Press both buttons to continue”. Press both top buttons and be prepared to write down the 24 words.
After you are done writing down the 24th word, you can click left to review the words to make sure you didn’t make any mistakes.
Once you have reviewed the words, click all the way to the right and select “Confirm your recovery phrase” by clicking on the top two buttons.
The Ledger will now ask you to confirm each word. Click the right arrow until the “Confirm word #1” matches your first word. Press on the top two buttons to confirm the correct word. Continue doing this for each of the 24 words.

Your recovery phrase is now set. Be sure to store your written recovery phrase in a safe place. If you lose your recovery phrase or if it gets stolen, you will lose all of your assets and there is no way of getting them back. Ledger will never ask you for it. Do not share it with anyone.
Next, keep clicking on the Right Arrow until you get to “Press both buttons to continue”. Go ahead and click on the top two buttons. You should then see a “Processing” icon. Once processing has been completed, your Ledger is ready to use.
Step 4: Connect to Ledger Live
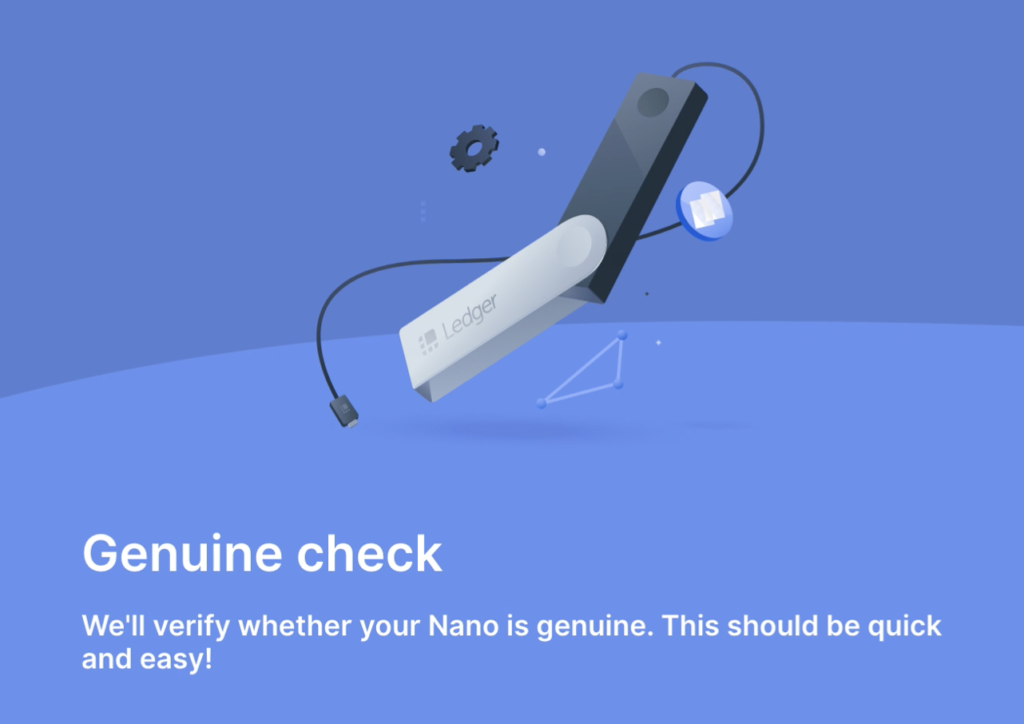
Ledger will now do a Genuine Check. Click on the Check My Nano button to initiate the check. This should only take a few seconds.
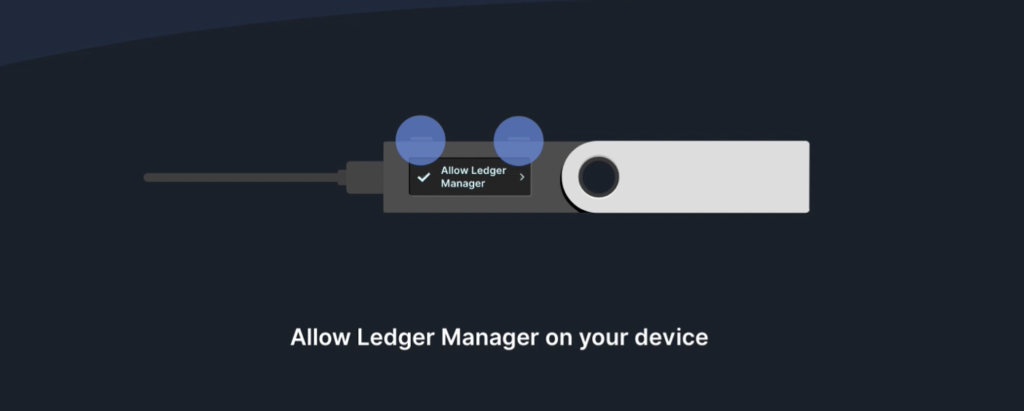
On your Ledger, you should see a message that says “Allow Ledger Manager”. Go ahead and press the top two buttons to proceed. Once the Genuine Check is complete, you will be able to use your Nano S with Ledger Live. Click the Continue button.
